Cotofana Anatomy

Filter by treatment type

Temples

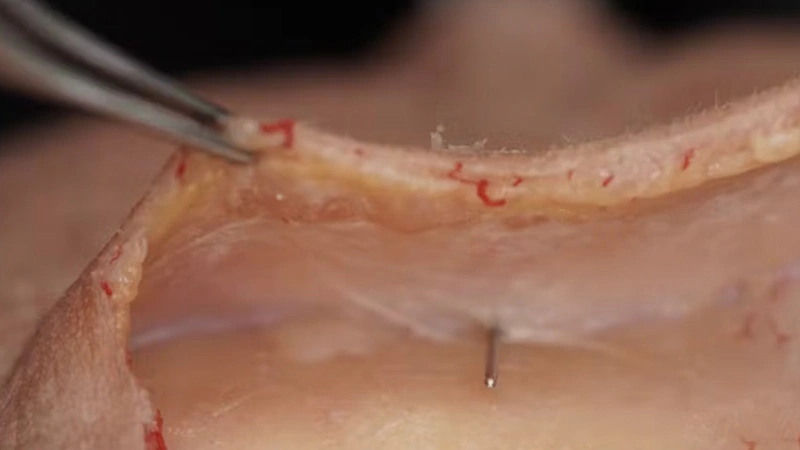
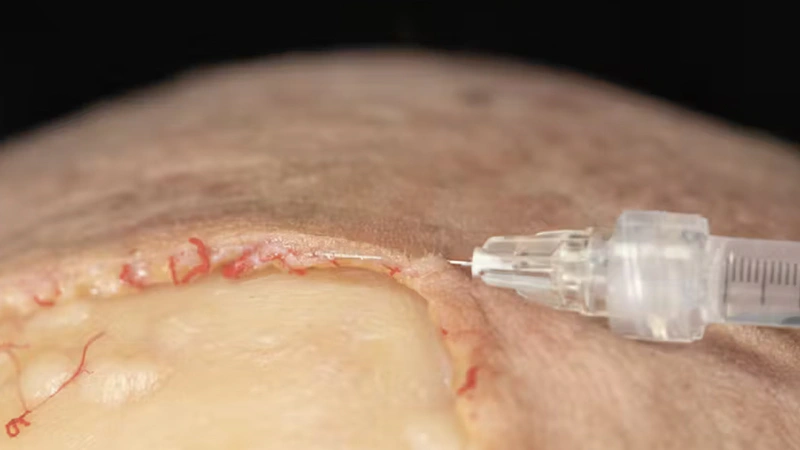
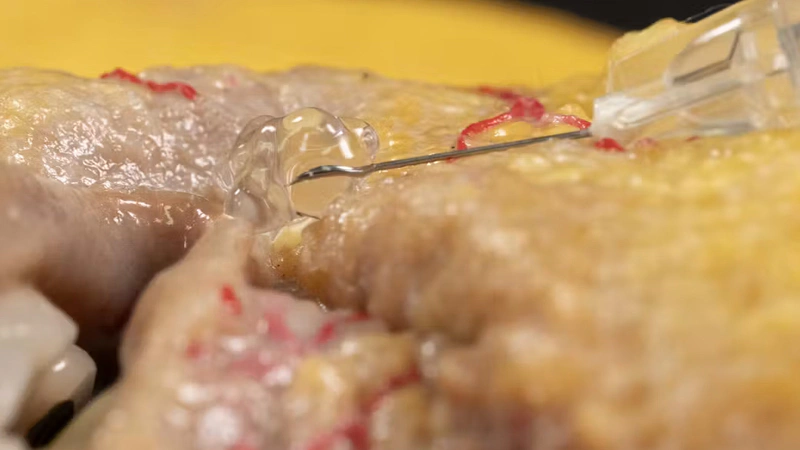
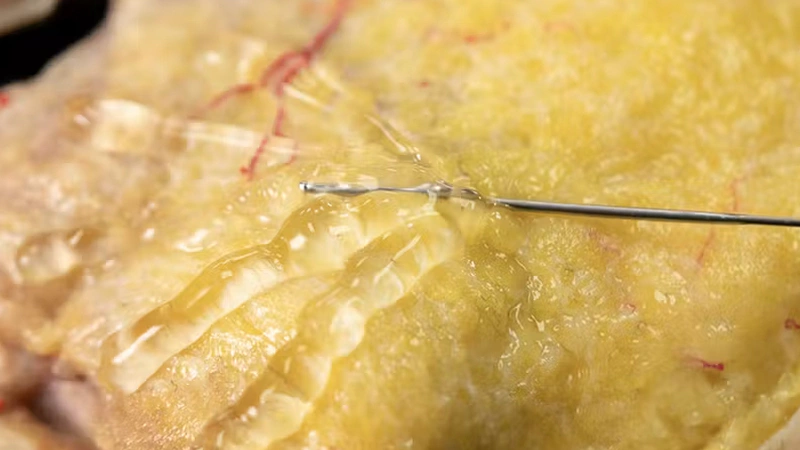
Biostimulator Treatments of the Temple: Superficial Cannula Technique

Biostimulator Treatments of the Temple: Superficial Cannula Technique

Find out more
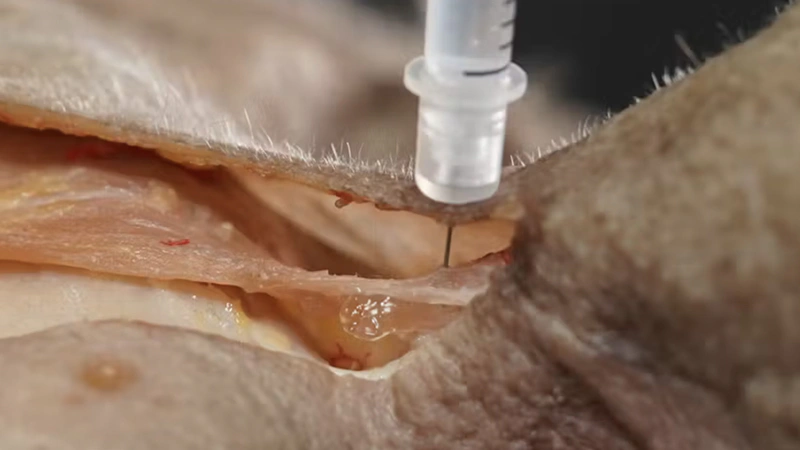
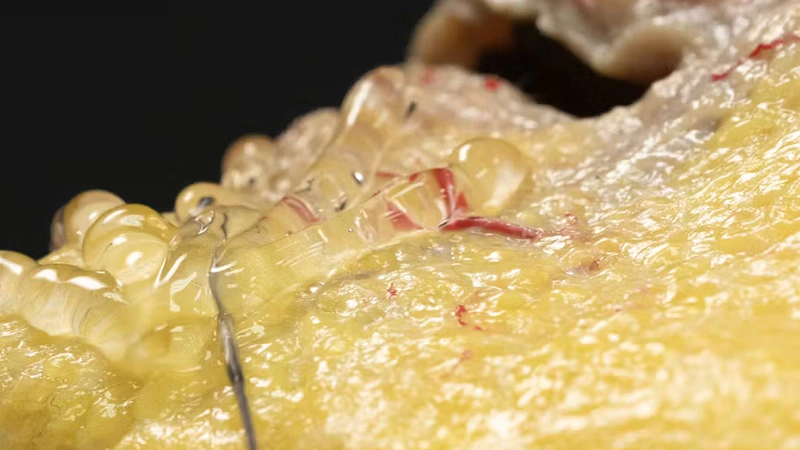
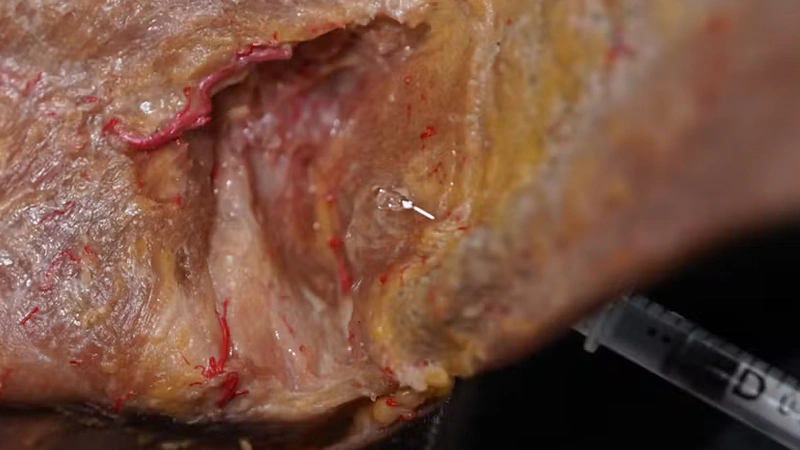
Temporal Volumization: Gunshot Technique

Temporal Volumization: Gunshot Technique

Find out more
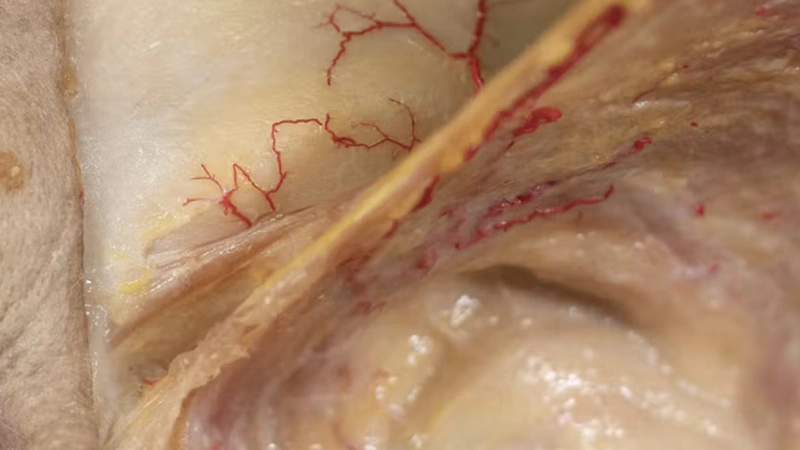
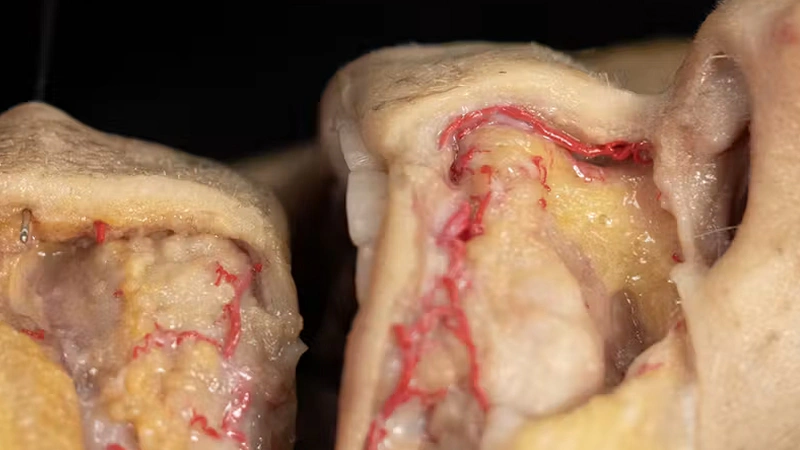
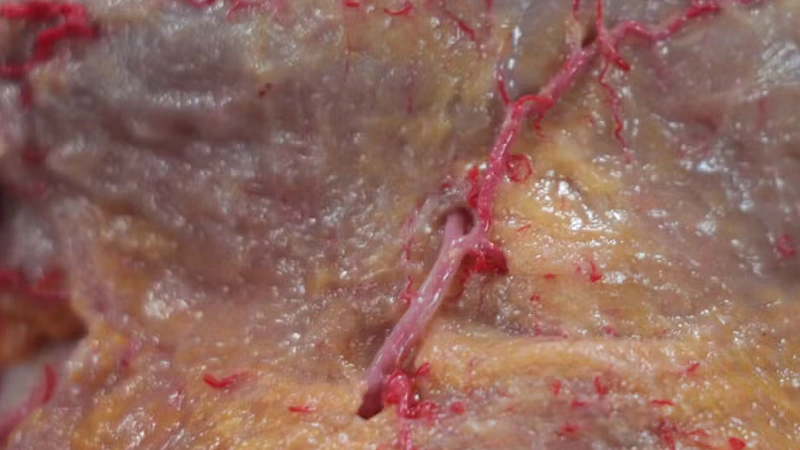
Basic Anatomy and Danger Zones: Temples

Basic Anatomy and Danger Zones: Temples

Find out more
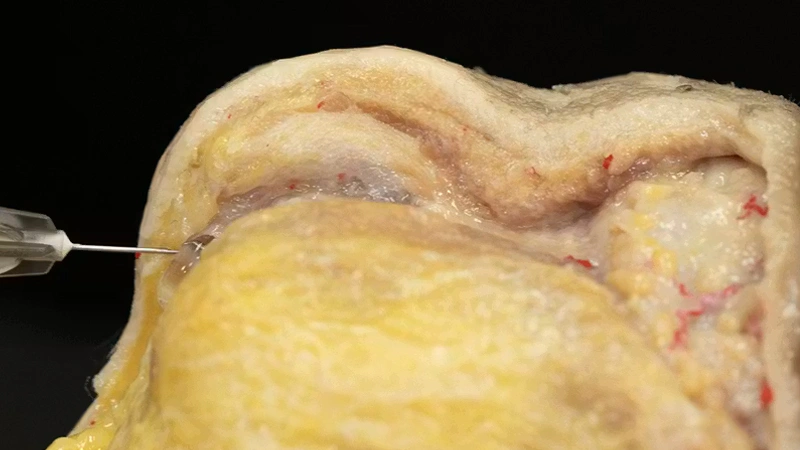
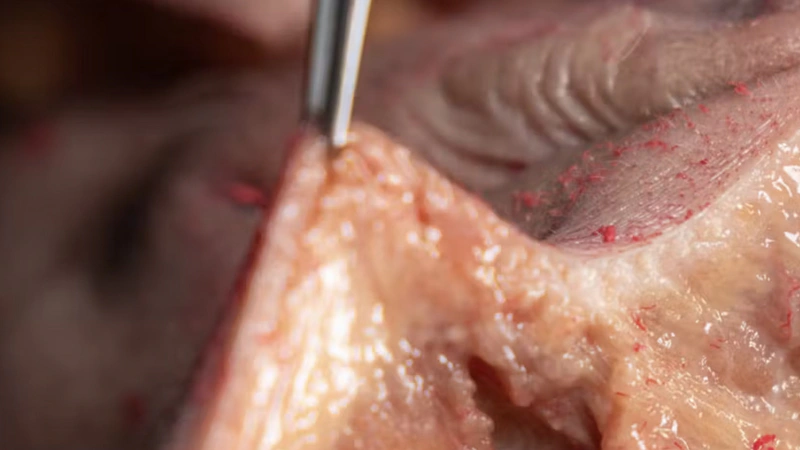
Temporal Volumization: Interfascial Technique

Temporal Volumization: Interfascial Technique

Find out more
Temporal Lifting Technique

Temporal Lifting Technique

Find out more
Temporal Volumization: Subdermal Cannula Technique

Temporal Volumization: Subdermal Cannula Technique

Find out more
The KB Lift

The KB Lift

Find out more
Temporal Volumization: The Modified Gunshot Technique

Temporal Volumization: The Modified Gunshot Technique

Find out more

Forehead

Understanding and Avoiding Toxin-related Adverse Events: Frontalis Muscle

Understanding and Avoiding Toxin-related Adverse Events: Frontalis Muscle

Find out more
Basic Anatomy for Neuromodulator Treatments: Frontalis Muscle

Basic Anatomy for Neuromodulator Treatments: Frontalis Muscle

Find out more
Basic Anatomy and Danger Zones: Forehead

Basic Anatomy and Danger Zones: Forehead

Find out more
Neuromodulator Treatments: Horizontal Forehead Lines

Neuromodulator Treatments: Horizontal Forehead Lines

Find out more
Treating Frontal Hollowing: Deep Needle Technique

Treating Frontal Hollowing: Deep Needle Technique

Find out more
Treating Frontal Hollowing: Deep Cannula Technique

Treating Frontal Hollowing: Deep Cannula Technique

Find out more
Treating Frontal Rhytids with Fillers: Intradermal Needle Technique

Treating Frontal Rhytids with Fillers: Intradermal Needle Technique

Find out more

Glabella

Basic Anatomy for Neuromodulator Treatments: Glabella

Basic Anatomy for Neuromodulator Treatments: Glabella

Find out more
Neuromodulator Treatments: Vertical and Horizontal Glabellar Lines

Neuromodulator Treatments: Vertical and Horizontal Glabellar Lines

Find out more
Understanding and Avoiding Toxin-related Adverse Events: Glabella

Understanding and Avoiding Toxin-related Adverse Events: Glabella

Find out more
Treating Glabellar Lines with Fillers: Intradermal Needle Technique

Treating Glabellar Lines with Fillers: Intradermal Needle Technique

Find out more
Treating Glabellar Lines with Fillers: Subdermal Cannula Technique

Treating Glabellar Lines with Fillers: Subdermal Cannula Technique

Find out more
Treating Glabellar Lines with Fillers: Supraperiosteal Cannula Technique

Treating Glabellar Lines with Fillers: Supraperiosteal Cannula Technique

Find out more

Periorbital

Neuromodulator Treatments: Lateral Canthal Lines

Neuromodulator Treatments: Lateral Canthal Lines

Find out more
Understanding and Avoiding Toxin-related Adverse Events: Lateral Canthal Lines

Understanding and Avoiding Toxin-related Adverse Events: Lateral Canthal Lines

Find out more
Basic Anatomy and Danger Zones: Periorbital

Basic Anatomy and Danger Zones: Periorbital

Find out more
Palpebromalar grooves Treatment with Needle and Cannula

Palpebromalar grooves Treatment with Needle and Cannula

Find out more
Periorbital Treatments: The A-Frame Deformity

Periorbital Treatments: The A-Frame Deformity

Find out more
Periorbital Treatments: Palpebromalar grooves with Needle

Periorbital Treatments: Palpebromalar grooves with Needle

Find out more
Periorbital Treatments: Palpebromalar grooves with Cannula (Inferior Approach)

Periorbital Treatments: Palpebromalar grooves with Cannula (Inferior Approach)

Find out more
Periorbital Treatments: Palpebromalar grooves with Cannula (Lateral Approach)

Periorbital Treatments: Palpebromalar grooves with Cannula (Lateral Approach)

Find out more
Periorbital Treatments: Lateral Canthal Furrows with Needle and Cannula

Periorbital Treatments: Lateral Canthal Furrows with Needle and Cannula

Find out more

Tear Trough

Tear Trough Treatment with Needle and Cannula

Tear Trough Treatment with Needle and Cannula

Find out more
Tear Trough Treatments: Deep Cannula Technique (Inferior Approach)

Tear Trough Treatments: Deep Cannula Technique (Inferior Approach)

Find out more
Tear Trough Treatments: Deep Needle Technique (Inferior Approach)

Tear Trough Treatments: Deep Needle Technique (Inferior Approach)

Find out more
Tear Trough Treatments: Deep Cannula Technique (Lateral Approach)

Tear Trough Treatments: Deep Cannula Technique (Lateral Approach)

Find out more
Tear Trough Treatments: Superficial Cannula Technique (Inferior Approach)

Tear Trough Treatments: Superficial Cannula Technique (Inferior Approach)

Find out more
Tear Trough Treatments: Superficial Needle Technique (Inferior Approach)

Tear Trough Treatments: Superficial Needle Technique (Inferior Approach)

Find out more

Nose

Understanding and Avoiding Toxin-related Adverse Events: Nasalis Muscle

Understanding and Avoiding Toxin-related Adverse Events: Nasalis Muscle

Find out more
Basic Anatomy for Neuromodulator Treatments: Nasalis Muscle

Basic Anatomy for Neuromodulator Treatments: Nasalis Muscle

Find out more
Neuromodulator Treatments: Bunny Lines

Neuromodulator Treatments: Bunny Lines

Find out more
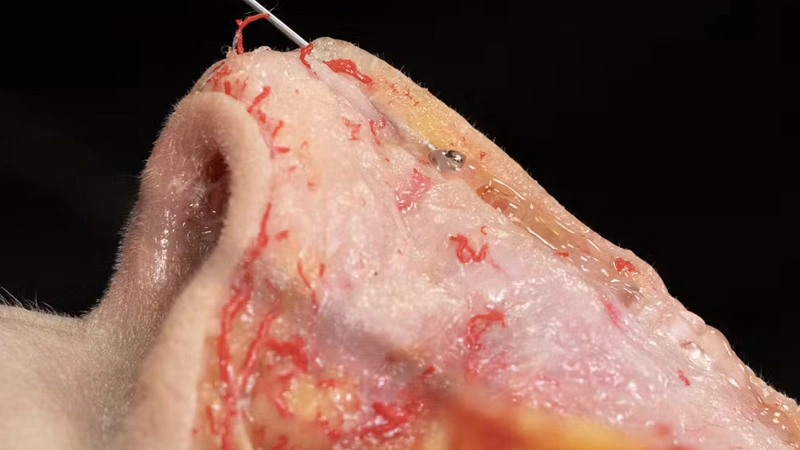
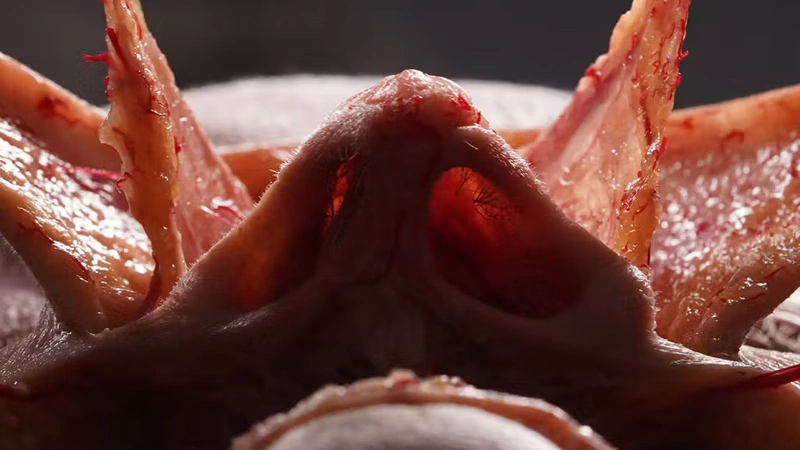
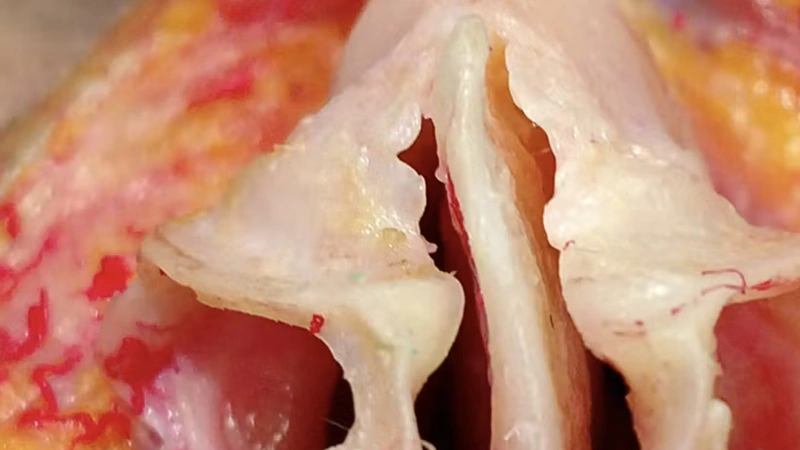
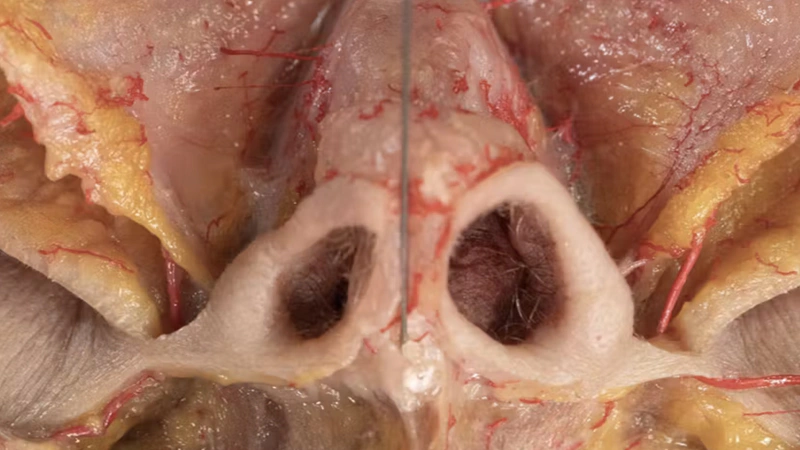
Basic Anatomy and Danger Zones: Nose

Basic Anatomy and Danger Zones: Nose

Find out more
Nose Treatments: Dorsal Enhancement with Needle

Nose Treatments: Dorsal Enhancement with Needle

Find out more
Nose Treatments: Dorsal Enhancement with Cannula

Nose Treatments: Dorsal Enhancement with Cannula

Find out more
Nose Treatments: Changing the Frontonasal Angle with Cannula

Nose Treatments: Changing the Frontonasal Angle with Cannula

Find out more
Nose Treatments: Nasal Tip Support with Needle

Nose Treatments: Nasal Tip Support with Needle

Find out more
Nose Treatments: The Eiffel Tower Technique

Nose Treatments: The Eiffel Tower Technique

Find out more
Nose Treatments: Nasal Slimming

Nose Treatments: Nasal Slimming

Find out more
Nose Treatments: Lateral Nasal Wall Stabilization

Nose Treatments: Lateral Nasal Wall Stabilization

Find out more
Nose Treatments: Correction of Alar Retraction

Nose Treatments: Correction of Alar Retraction

Find out more

Medial Midface

Neuromodulator Treatments: Gummy Smile

Neuromodulator Treatments: Gummy Smile

Find out more
Basic Anatomy for Neuromodulator Treatments: LLSAN Muscle

Basic Anatomy for Neuromodulator Treatments: LLSAN Muscle

Find out more
Understanding and Avoiding Toxin-related Adverse Events: LLSAN Muscle

Understanding and Avoiding Toxin-related Adverse Events: LLSAN Muscle

Find out more
Basic Anatomy and Danger Zones: Medial Midface

Basic Anatomy and Danger Zones: Medial Midface

Find out more
Cheek Volumization with Needle

Cheek Volumization with Needle

Find out more
Anterior Midface Volumization: Deep Needle Technique

Anterior Midface Volumization: Deep Needle Technique

Find out more
Anterior Midface Volumization: Superficial Cannula Technique

Anterior Midface Volumization: Superficial Cannula Technique

Find out more
Anterior Midface Volumization: Intermediate Cannula Technique

Anterior Midface Volumization: Intermediate Cannula Technique

Find out more

Lateral Midface

Biostimulator Treatments: Tightening the Lateral Face

Biostimulator Treatments: Tightening the Lateral Face

Find out more
Neuromodualtor Treatments: Masseter Hypertrophy

Neuromodualtor Treatments: Masseter Hypertrophy

Find out more
Biostimulator Treatments of the Lateral Face: The Star Technique

Biostimulator Treatments of the Lateral Face: The Star Technique

Find out more
Zygomatic Arch Enhancement with Needle

Zygomatic Arch Enhancement with Needle

Find out more
Superficial Zygomatic Arch Enhancement with Cannula

Superficial Zygomatic Arch Enhancement with Cannula

Find out more
Deep Zygomatic Arch Enhancement with Cannula

Deep Zygomatic Arch Enhancement with Cannula

Find out more
Understanding and Avoiding Toxin-related Adverse Events: Masseter Muscle

Understanding and Avoiding Toxin-related Adverse Events: Masseter Muscle

Find out more

Basic Anatomy and Danger Zones: Lateral Midface

Find out more
Basic Anatomy for Neuromodulator Treatments: Masseter Muscle

Basic Anatomy for Neuromodulator Treatments: Masseter Muscle

Find out more

Nasolabial fold

Nasolabial fold Treatments: Pyriform fossa with Needle

Nasolabial fold Treatments: Pyriform fossa with Needle

Find out more
Nasolabial fold Treatments: Pyriform fossa with Cannula

Nasolabial fold Treatments: Pyriform fossa with Cannula

Find out more
Nasolabial fold Treatments: Superficial Cannula Technique

Nasolabial fold Treatments: Superficial Cannula Technique

Find out more
Nasolabial fold Treatments: Intradermal Needle Technique

Nasolabial fold Treatments: Intradermal Needle Technique

Find out more
Nasolabial fold Treatments: The Fern Technique

Nasolabial fold Treatments: The Fern Technique

Find out more
Nasolabial fold Treatments: Combined Treatments with Needle and Cannula

Nasolabial fold Treatments: Combined Treatments with Needle and Cannula

Find out more

Perioral

Marionette Line Treatment with Needle

Marionette Line Treatment with Needle

Find out more
Marionette Line Treatment with Cannula

Marionette Line Treatment with Cannula

Find out more
Basic Anatomy for Neuromodulator Treatments: DAO & DLI Muscles

Basic Anatomy for Neuromodulator Treatments: DAO & DLI Muscles

Find out more
Neuromodulator Treatments: Marionette Line

Neuromodulator Treatments: Marionette Line

Find out more
Understanding and Avoiding Toxin-related Adverse Events: DAO & DLI Muscles

Understanding and Avoiding Toxin-related Adverse Events: DAO & DLI Muscles

Find out more
Perioral Treatments: Addressing Barcode Lines with Needle

Perioral Treatments: Addressing Barcode Lines with Needle

Find out more
Perioral Treatments: Addressing Barcode Lines with Cannula

Perioral Treatments: Addressing Barcode Lines with Cannula

Find out more

Lips

Basic Anatomy and Danger Zones: Lips

Basic Anatomy and Danger Zones: Lips

Find out more
Lip Volumization: Combined Treatments with Needle and Cannula

Lip Volumization: Combined Treatments with Needle and Cannula

Find out more
Basic Anatomy for Neuromodulator Treatments: Orbicularis Oris Muscle

Basic Anatomy for Neuromodulator Treatments: Orbicularis Oris Muscle

Find out more
Understanding and Avoiding Toxin-related Adverse Events: Orbicularis Oris Muscle

Understanding and Avoiding Toxin-related Adverse Events: Orbicularis Oris Muscle

Find out more
Neuromodulator Treatments: Lip Flip and Perioral Lines

Neuromodulator Treatments: Lip Flip and Perioral Lines

Find out more
Lip Volumization with Cannula: Linear Technique

Lip Volumization with Cannula: Linear Technique

Find out more
Lip Contouring with Cannula

Lip Contouring with Cannula

Find out more
Lip Volumization with Cannula: Microbolus Technique

Lip Volumization with Cannula: Microbolus Technique

Find out more
Lip Volumizing with Needle: Horizontal Technique

Lip Volumizing with Needle: Horizontal Technique

Find out more
Lip Contouring with Needle

Lip Contouring with Needle

Find out more
Lip Volumizing with Needle: Vertical Technique

Lip Volumizing with Needle: Vertical Technique

Find out more
Oral Commissure Support with Needle (C-Technique)

Oral Commissure Support with Needle (C-Technique)

Find out more
Oral Commissure Support with Cannula

Oral Commissure Support with Cannula

Find out more

Chin

Chin Zone Treatment with Needle

Chin Zone Treatment with Needle

Find out more
Labiomental Sulcus Smoothening (Needle and Cannula Techniques)

Labiomental Sulcus Smoothening (Needle and Cannula Techniques)

Find out more
Chin Zone Treatment with Cannula

Chin Zone Treatment with Cannula

Find out more
Neuromodulator Treatments: Chin Zone Relaxation

Neuromodulator Treatments: Chin Zone Relaxation

Find out more
Basic Anatomy for Neuromodulator Treatments: Mentalis Muscle

Basic Anatomy for Neuromodulator Treatments: Mentalis Muscle

Find out more
Basic Anatomy and Danger Zones: Chin

Basic Anatomy and Danger Zones: Chin

Find out more
Understanding and Avoiding Toxin-related Adverse Events: Mentalis Muscle

Understanding and Avoiding Toxin-related Adverse Events: Mentalis Muscle

Find out more
Chin Enhancement: Combined Treatment with Needle and Cannula

Chin Enhancement: Combined Treatment with Needle and Cannula

Find out more

Jawline

Biostimulator Treatments of the Jawline: Superficial Cannula Technique

Biostimulator Treatments of the Jawline: Superficial Cannula Technique

Find out more
Mandibular Enhancement with Needle

Mandibular Enhancement with Needle

Find out more
Jawline Contouring with Cannula: Mandibular Access

Jawline Contouring with Cannula: Mandibular Access

Find out more
Jawline Contouring with Cannula: Angle Access

Jawline Contouring with Cannula: Angle Access

Find out more
Basic Anatomy and Danger Zones: Jawline

Basic Anatomy and Danger Zones: Jawline

Find out more
Understanding and Avoiding Toxin-related Adverse Events: Jawline Contouring

Understanding and Avoiding Toxin-related Adverse Events: Jawline Contouring

Find out more
Neuromodulator Treatments: The Toxin Lift

Neuromodulator Treatments: The Toxin Lift

Find out more

Neck

Neuromodualtor Tretaments: Platysmal Bands

Neuromodualtor Tretaments: Platysmal Bands

Find out more
Biostimulator Treatments of the Neck: Superficial Cannula Technique

Biostimulator Treatments of the Neck: Superficial Cannula Technique

Find out more
Horizontal Neck Lines Subdermal Cannula Technique

Horizontal Neck Lines Subdermal Cannula Technique

Find out more
Horizontal Neck Lines Intradermal Needle Technique

Horizontal Neck Lines Intradermal Needle Technique

Find out more
Basic Anatomy for Neuromodulator Treatments: Platysma Muscle

Basic Anatomy for Neuromodulator Treatments: Platysma Muscle

Find out more
Understanding and Avoiding Toxin-related Adverse Events: Platysma Muscle

Understanding and Avoiding Toxin-related Adverse Events: Platysma Muscle

Find out more

Facial Regions

Review: Lower Face - Filler

Review: Lower Face

Find out more
Review: Lower Face - Toxin

Review: Lower Face

Find out more
Soft Tissue - Review: Middle Face

Review: Middle Face

Find out more
Review: Middle Face - Toxin

Review: Middle Face

Find out more
Review: Upper Face - Filler

Review: Upper Face

Find out more
Review: Upper Face - Toxin

Review: Upper Face

Find out more
Extended Anatomic Review: The Maxillary Artery

Extended Anatomic Review: The Maxillary Artery

Find out more
Extended Anatomic Review: The Ophthalmic Artery

Extended Anatomic Review: The Ophthalmic Artery

Find out more

Facial Systems

Biostimulator Treatments: Tightening the Lateral Face

Biostimulator Treatments: Tightening the Lateral Face

Find out more
Aesthetic Principles

Aesthetic Principles

Find out more
Muscles of Mastication

Muscles of Mastication

Find out more
Facial Nerve

Facial Nerve

Find out more
Layers of the Scalp

Layers of the Scalp

Find out more
Injection Biomechanics

Injection Biomechanics

Find out more
Layers of the Face

Layers of the Face

Find out more
Facial Ligaments

Facial Ligaments

Find out more
Be the first to know

Be the first to know

Join our community for news, offers, and updates on Cotofana Anatomy’s events and resources

Copyright © 2026. Cotofana Anatomy. All rights reserved.